
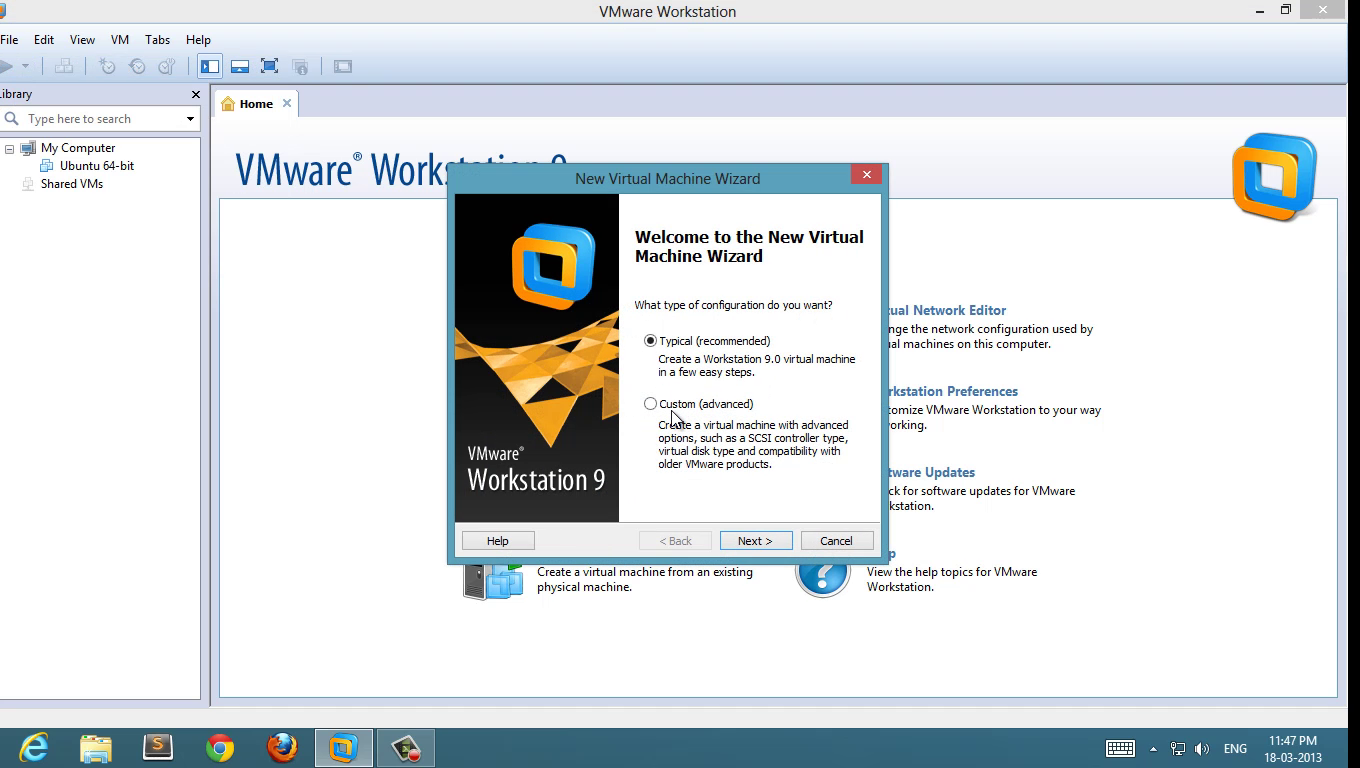
1 : click on create new virtual machine

create new virtual machine 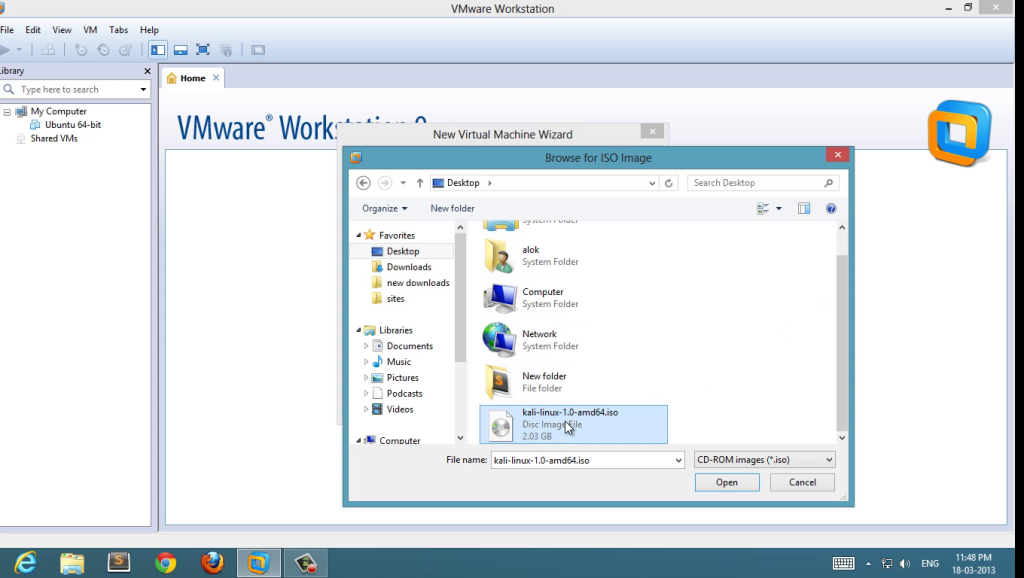
choose ISO 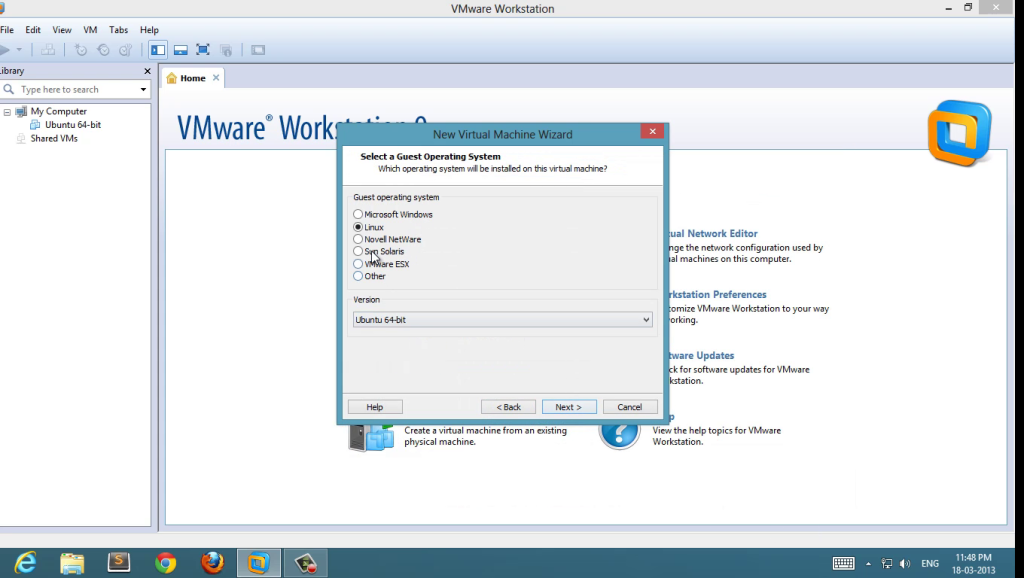
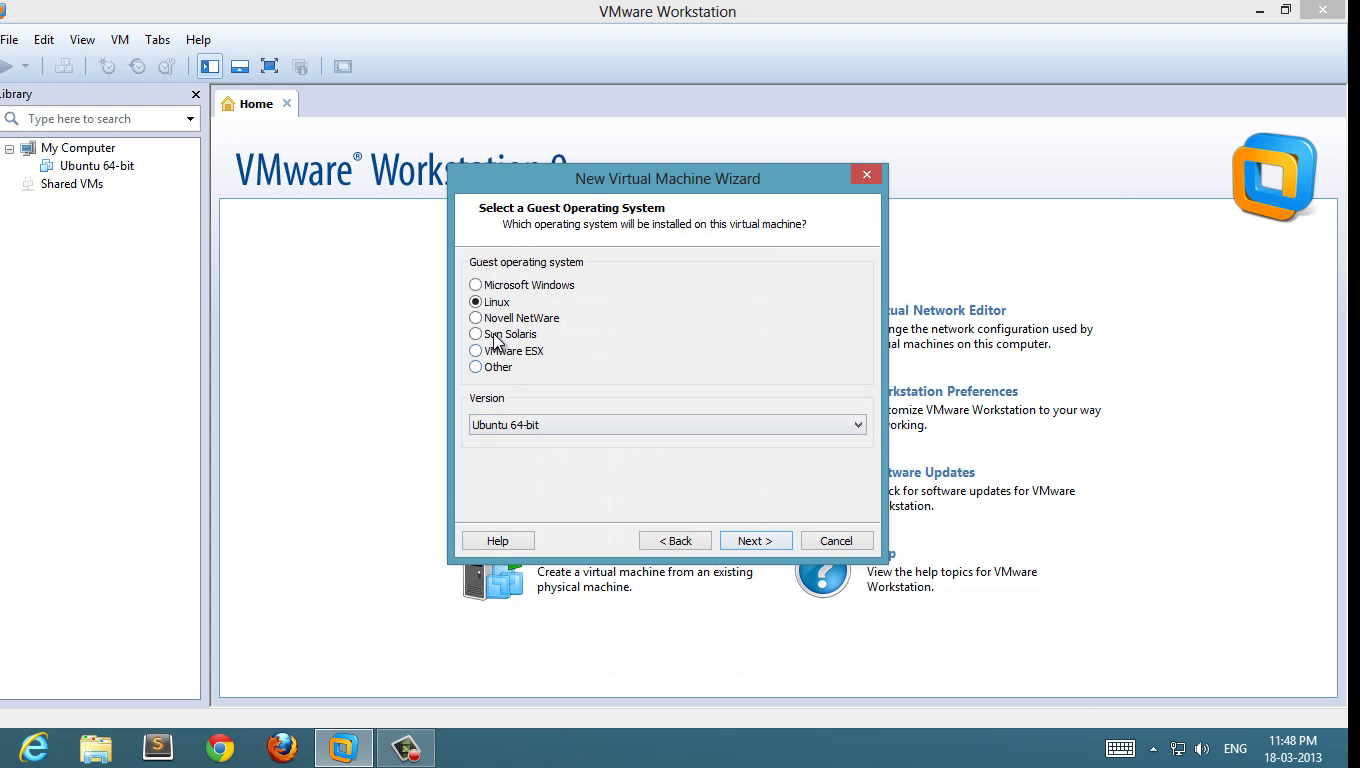
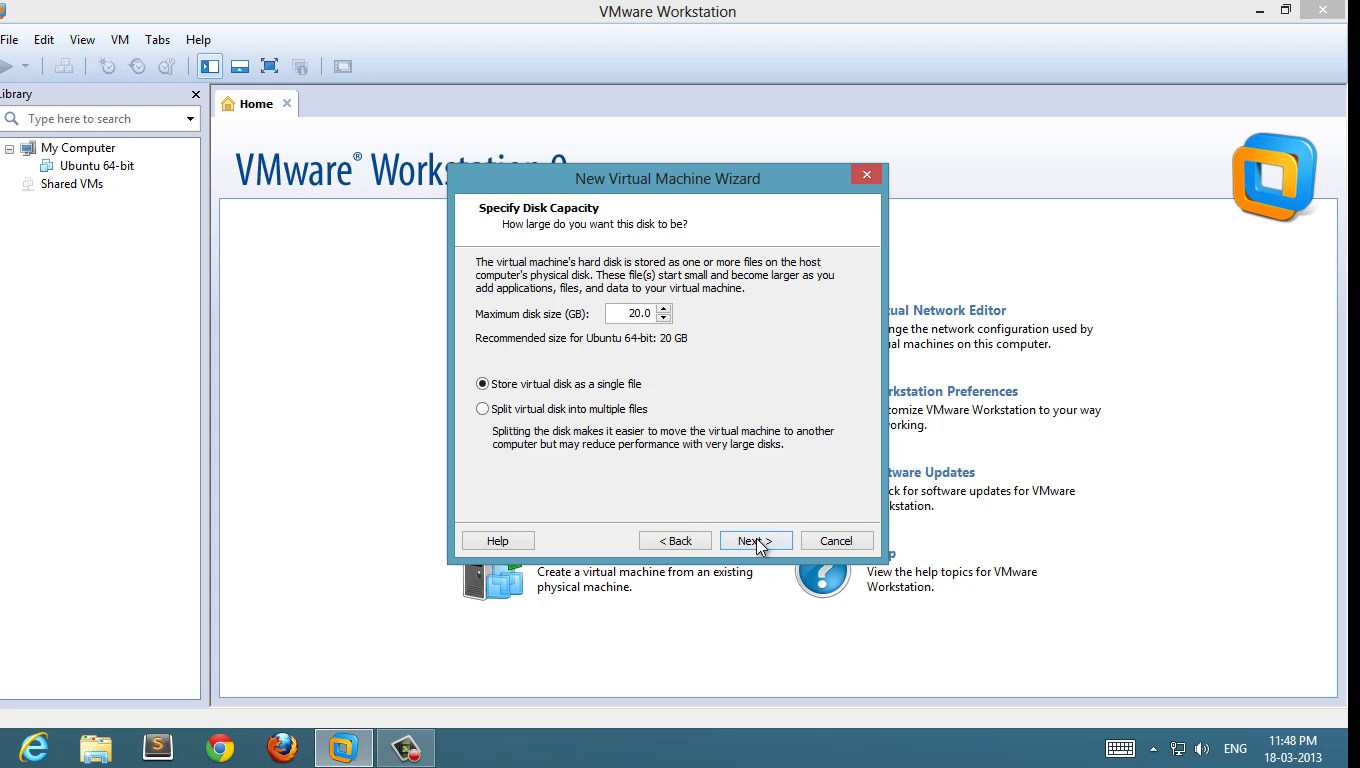
select guest operating system 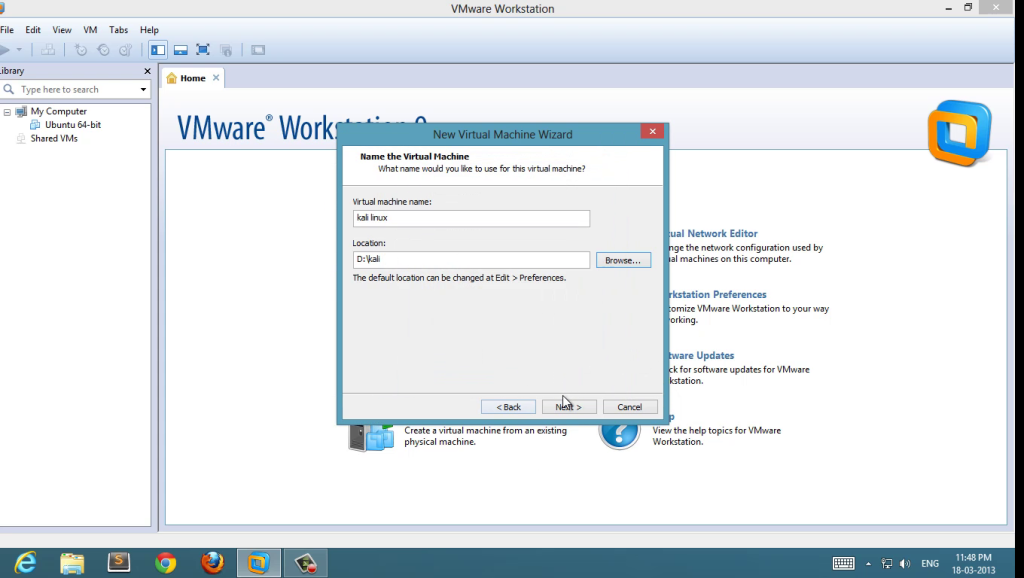 5 : Set disk space ( 20 GB is good enough, minimum 12 GB to work smoother )

5 : Review the hardware configuration and start the virtual machine
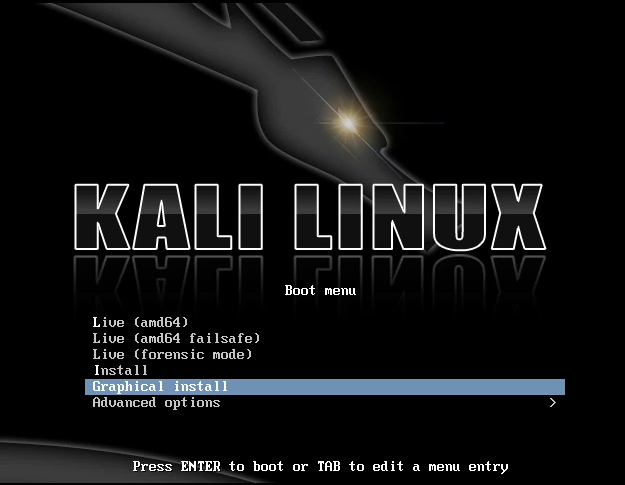
Select Graphical Install
Set your “root” password and don’t forget it
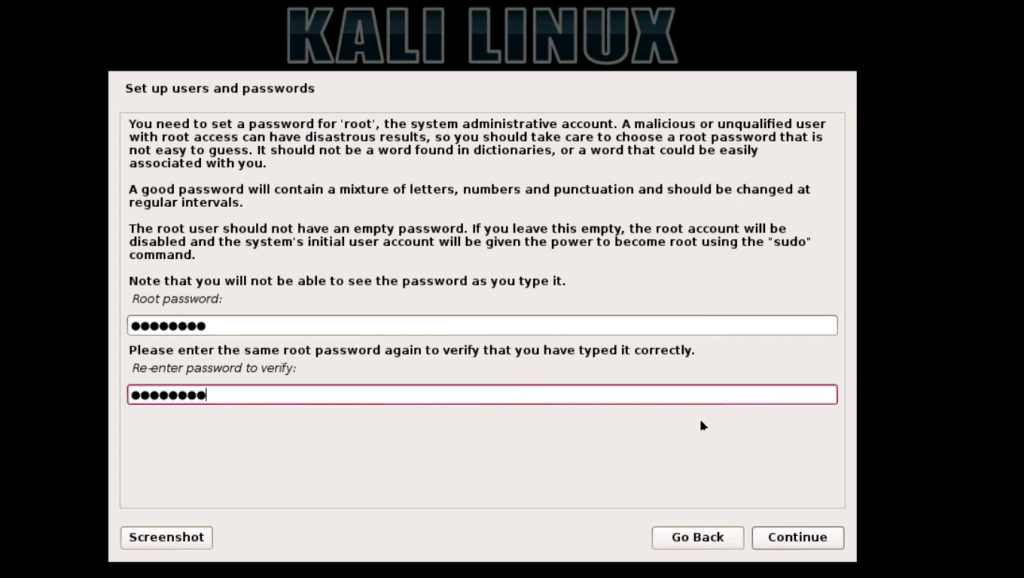
set root password and don’t forget it 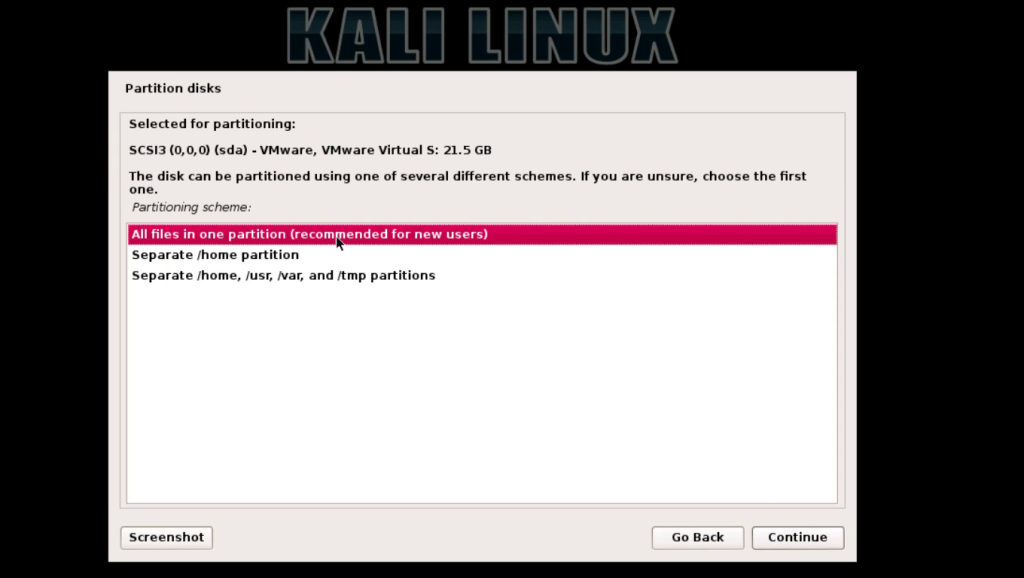
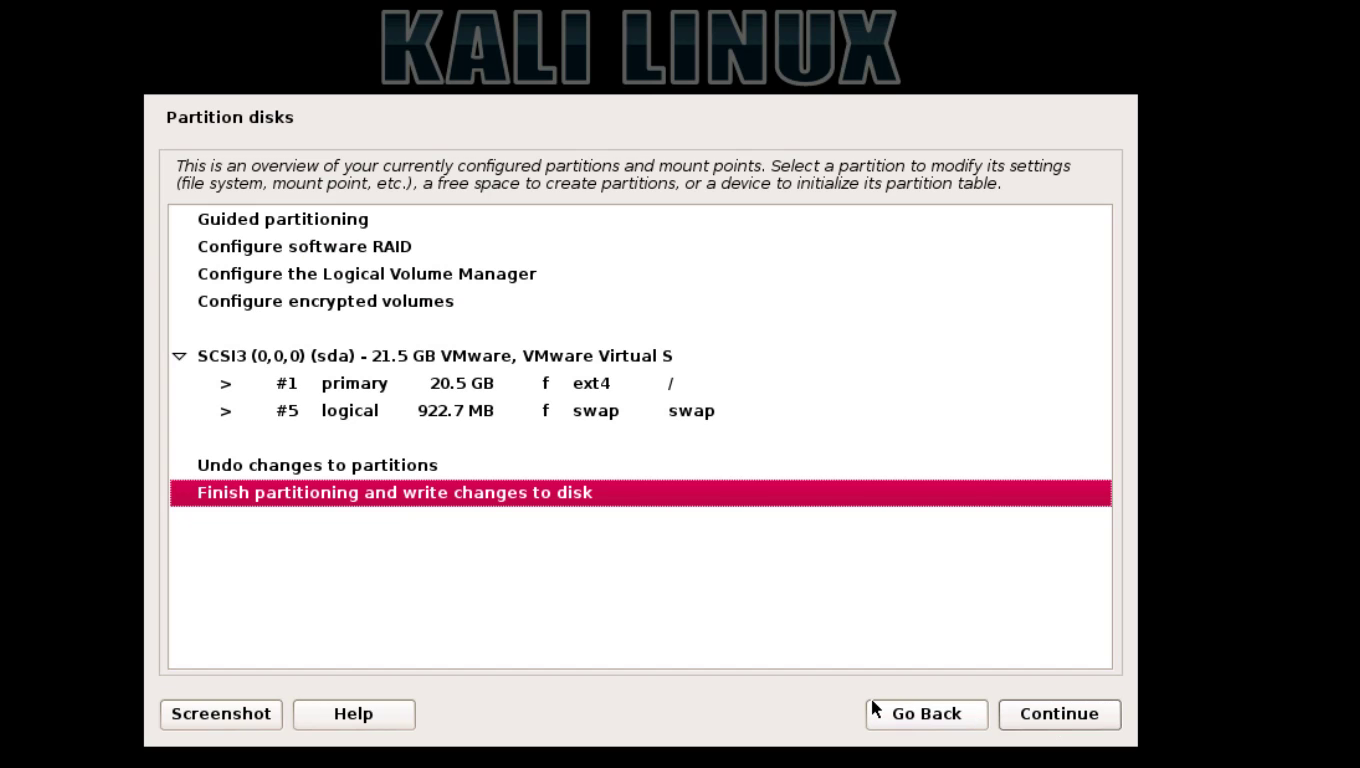
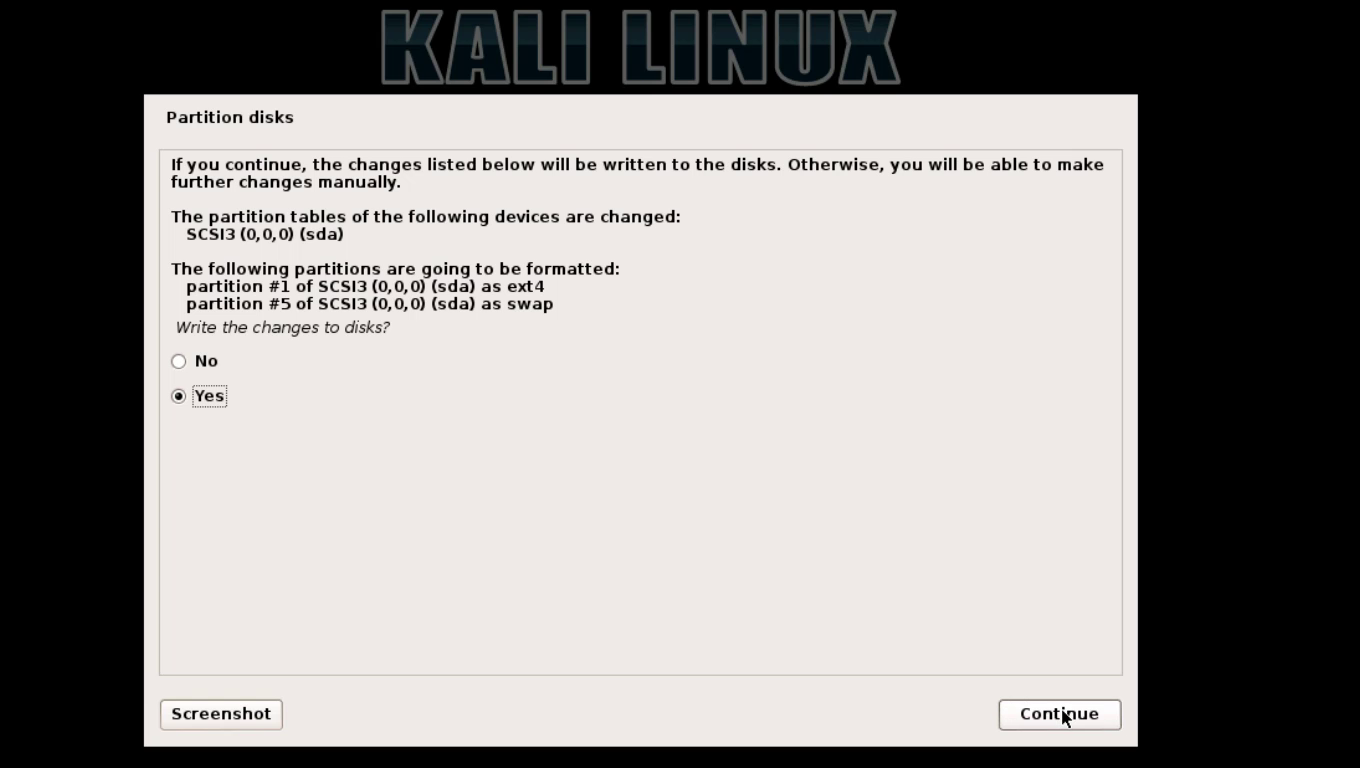
use full virtual disk use full virtual disk 
 10 : wait until installer finish copying files setting system
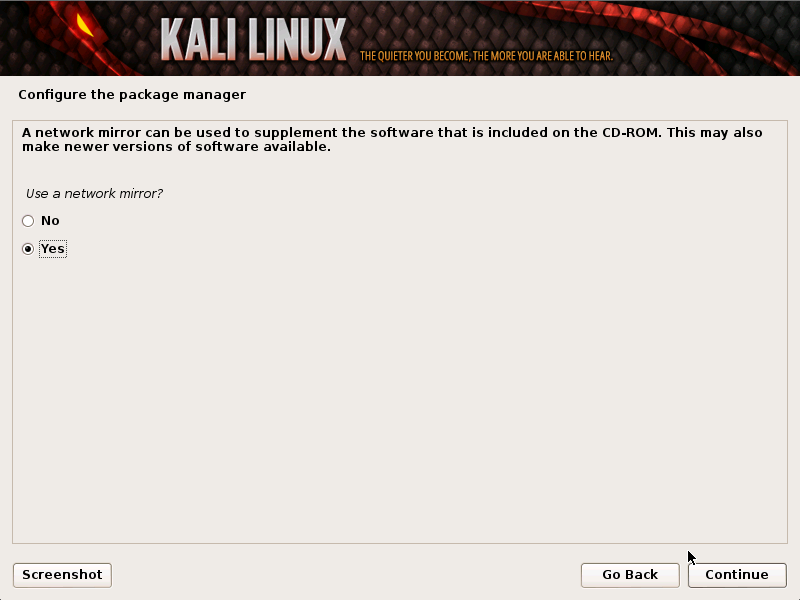
 11 : set network mirror and set boot-loader ( very important )
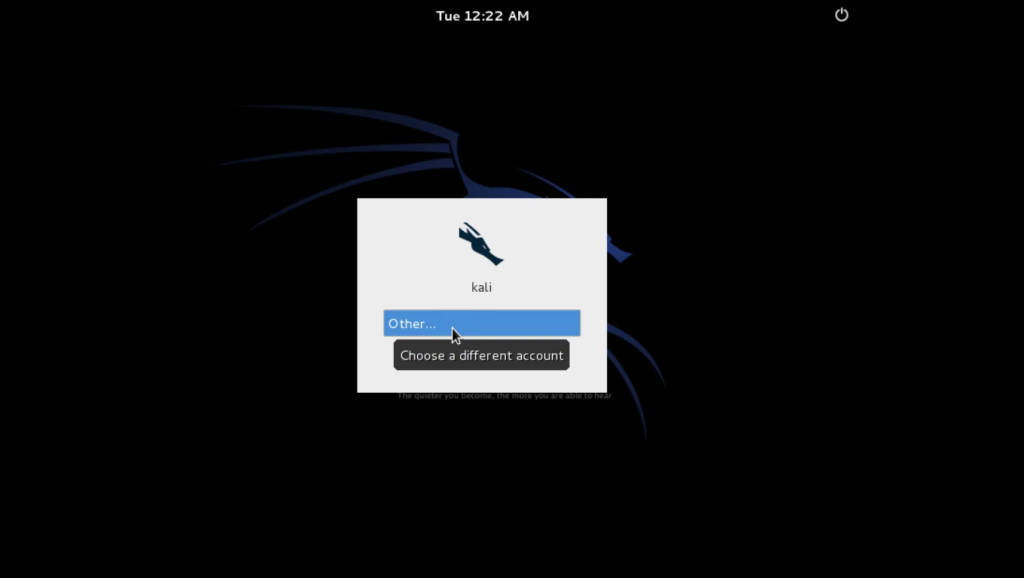
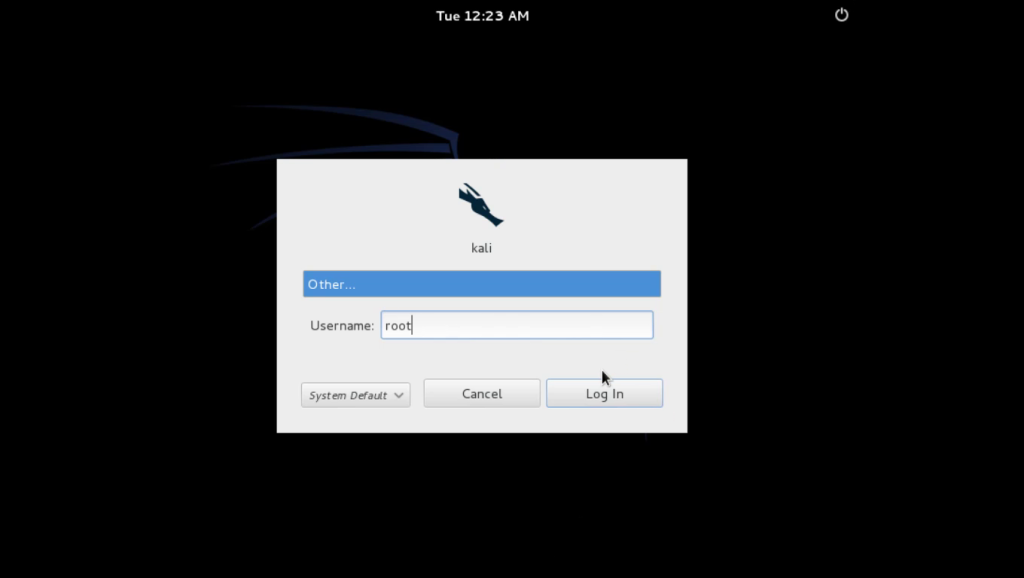
 12 : after installation restart and login with username ” root ” and password ( what you set at step 6 )


5 : Review the hardware configuration and start the virtual machine
Set your “root” password and don’t forget it


0 Comment to "How To Install Kali Linux In Virtual Machine"
Post a Comment